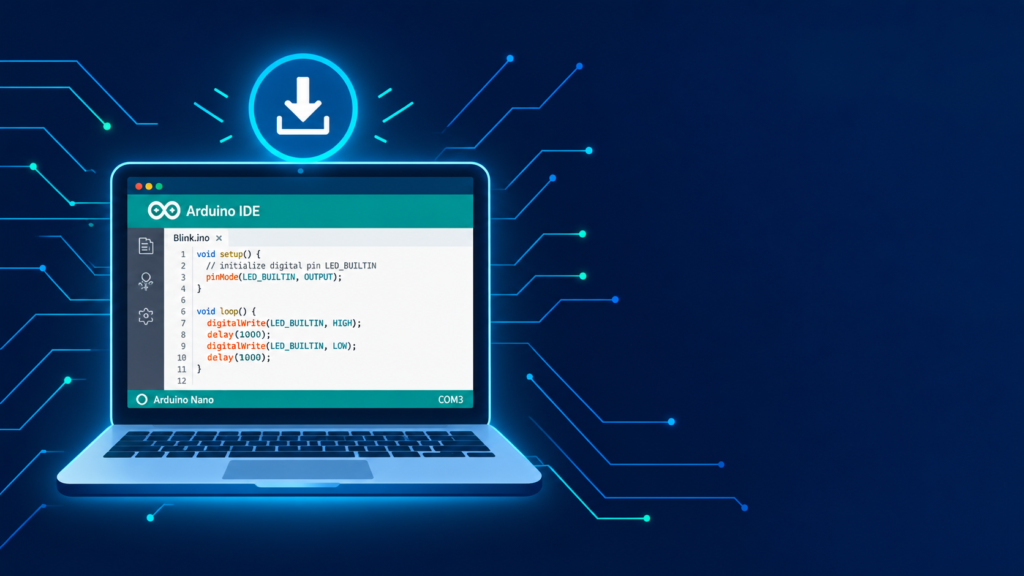
Arduino IDE (Integrated Development Environment) is the free official software used to write, compile, and upload code to Arduino boards. To install it on Windows, download the installer from the official Arduino website (arduino.cc/en/software), run the .exe file, accept the driver installation prompts, then connect your board via USB and select the correct board and port from the Tools menu before uploading any code. The entire process takes under 10 minutes on a typical Windows PC.
Key takeaways
- Arduino IDE is free and available for Windows, Mac, Linux, and as a browser-based Cloud Editor.
- IDE stands for Integrated Development Environment a single application combining a code editor, compiler, and uploader.
- Two major versions exist: IDE 1.x (classic) and IDE 2.x (current) new users should install IDE 2.x.
- Windows requires driver installation (usually automatic) for the board to be recognized via USB.
- The most common beginner error is selecting the wrong Board or Port in the Tools menu.
What does “Arduino IDE” mean?
IDE stands for Integrated Development Environment. It’s called this because it combines three tools beginners would otherwise need separately into one application:
- A code editor for writing sketches (Arduino programs)
- A compiler that converts your code into machine language the microcontroller understands
- An uploader that transfers the compiled code to the board over USB
System requirements for Arduino IDE on Windows
| Requirement | Minimum |
|---|---|
| OS | Windows 10 or later (64-bit recommended) |
| Free disk space | ~500 MB |
| RAM | 4 GB (8 GB recommended for IDE 2.x) |
| USB port | Type-A or Type-C (depending on board/cable) |
| Internet | Required for download and library installs |
Step-by-step: Download Arduino IDE for Windows
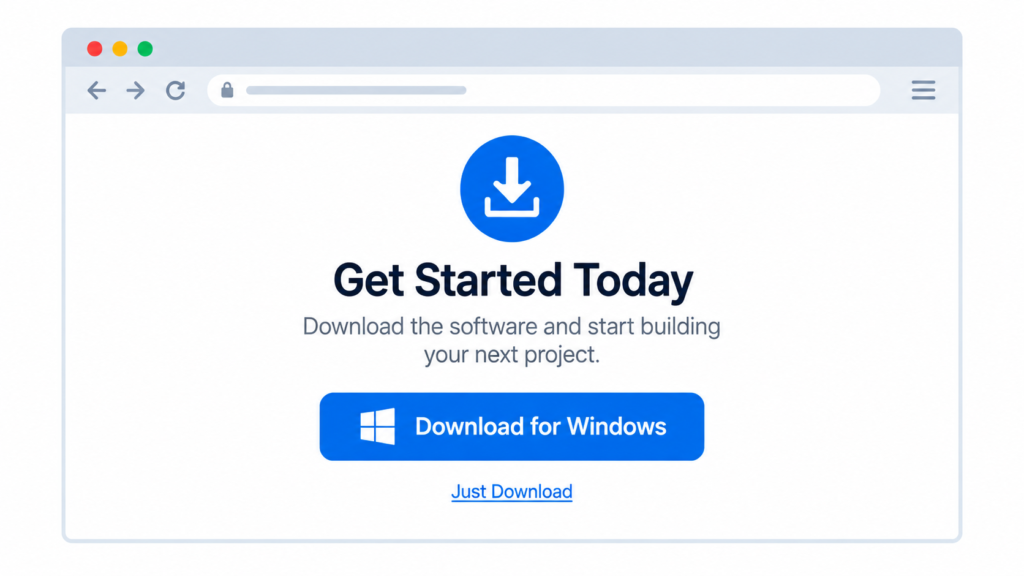
- Go to the official Arduino software page at arduino.cc/en/software.
- Under “Download the Arduino IDE,” select the Windows option (choose the .exe installer for most users, or the ZIP version for a portable install with no admin rights needed).
- On the download page, you’ll be asked to make a donation or click “Just Download.” Either works the download is free either way.
- Wait for the .exe file (roughly 500–700 MB for IDE 2.x) to finish downloading.
Step-by-step: Install Arduino IDE on Windows
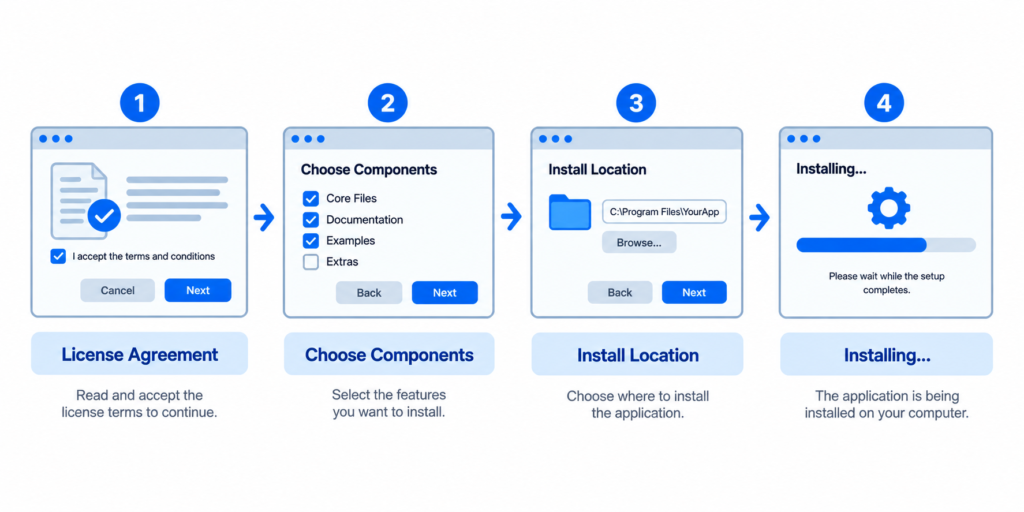
- Run the downloaded .exe file as administrator (right-click → “Run as administrator” if it doesn’t prompt automatically).
- Accept the license agreement on the first screen.
- Choose installation options leave all checkboxes ticked (these include the core IDE, drivers, and desktop shortcut) unless you have a specific reason to skip one.
- Select an install location or leave the default path.
- Click Install and wait for the progress bar to complete.
- Allow driver installation prompts Windows will show one or more “Install this driver software?” popups (for USB-to-serial chips like CH340 or FTDI). Click Install on each.
- Click Finish and launch Arduino IDE from the desktop shortcut or Start menu.
Setting up your board after installation
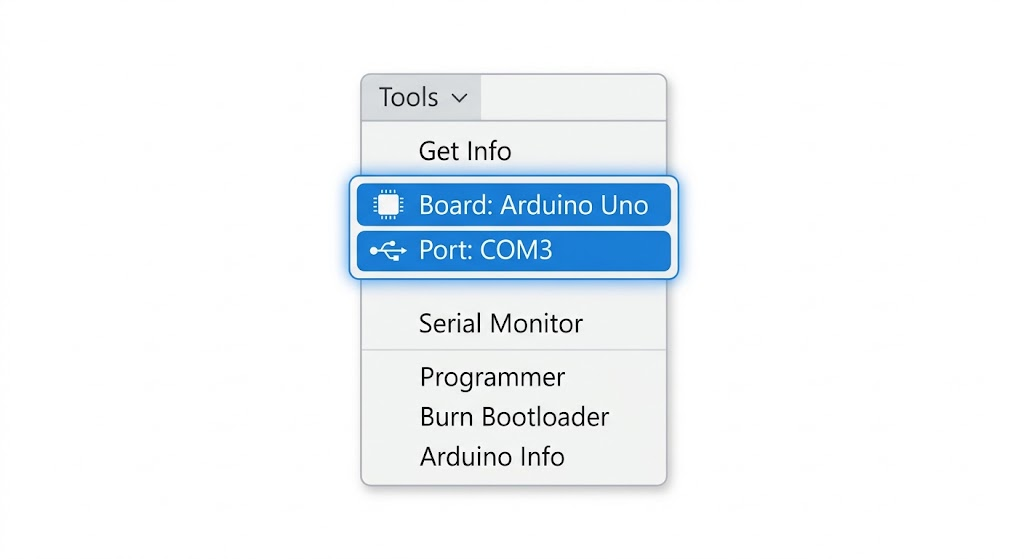
Once the IDE opens:
- Connect your Arduino board to your PC via USB cable.
- Go to Tools → Board and select your board model (e.g., “Arduino Uno,” “Arduino Nano”).
- Go to Tools → Port and select the COM port your board appears on (e.g., “COM3 (Arduino Uno)”). If no port appears, see the troubleshooting section below.
- Open File → Examples → 01.Basics → Blink, then click the Upload button (right-arrow icon). If the onboard LED starts blinking, your setup is working correctly.
Arduino IDE 1.x vs 2.x: which should you install?
| Feature | IDE 1.x (Classic) | IDE 2.x (Current) |
|---|---|---|
| Interface | Simple, lightweight | Modern, faster, more features |
| Autocomplete | No | Yes |
| Debugger | No | Yes (for supported boards) |
| Board manager | Basic | Improved, faster board/library search |
| Recommended for | Old low-spec PCs, legacy tutorials | Most users in 2026 |
For nearly all new users, IDE 2.x is the correct choice it’s actively maintained and receives new features, while 1.x is kept mainly for compatibility with very old systems or tutorials.
Common installation & upload problems (and fixes)
Problem: Port doesn’t appear in Tools → Port menu
Fix: Install the correct USB driver manually CH340 driver for most clone boards, or the official FTDI/Arduino driver for genuine boards. Check Windows Device Manager for an unrecognized device under “Other devices” to confirm which driver is missing.
Problem: “avrdude: stk500_recv(): programmer is not responding”
Fix: Confirm the correct board and port are selected, press the physical reset button on the board just before clicking Upload, or try a different USB cable (some cables are power-only and don’t carry data).
Problem: Installer blocked by Windows SmartScreen
Fix: Click “More info” then “Run anyway” this is standard for new installers without an established reputation yet, not a sign of malware when downloaded from the official arduino.cc site.
Problem: IDE opens but is extremely slow
Fix: This usually affects IDE 2.x on low-RAM systems; switching to IDE 1.x resolves performance issues on older Windows PCs.
Frequently asked questions
What does IDE stand for in Arduino IDE?
IDE stands for Integrated Development Environment software that combines a code editor, compiler, and uploader in one application for writing and running Arduino code.
Is Arduino IDE free to download?
Yes. Arduino IDE is completely free and open-source, available for Windows, Mac, and Linux from the official arduino.cc website.
Do I need to install drivers separately for Arduino IDE?
Usually no the Arduino IDE installer includes and installs the necessary USB drivers automatically. Some clone boards using a CH340 chip may need a separate driver if not auto-detected.
Why is my Arduino board not showing up in the Port menu?
This is almost always a missing or unrecognized USB driver. Check Windows Device Manager for the device, and install the CH340 or FTDI driver depending on your board’s USB chip.
Should I install Arduino IDE 1.x or 2.x?
Install IDE 2.x for nearly all use cases in 2026 it’s the actively maintained version with autocomplete, a built-in debugger, and better performance. Use 1.x only for very old, low-spec computers or legacy tutorials that specifically require it.